
HOWTO: Make a Turkshead Jig (Mandrel)
A dual use (6 bight and 4 bight) tool
Nov 05 2024
TOC
I admit that heel knots and transition knots (Typically Turks Head or variations) are among my weakest skillset in whipmaking at this time. I have watched many video tutorials on YouTube from whipmakers such as Colin Hack (Caliber Whips) and Nich Schrader (NicksWhipShop) as well as from non whipmakers like Paracord Guild.
The really experienced knot tyers adn whip makers seem to possess this skill of making these finishing knots on a plain dowel (Mandrel) or on the whip.
However, the aforementioned Caliber Whips thankfully did a tutorial where he used a home made jig (a dowel with pins set in it). I said "THIS I can do!" but when I looked online the commercial jigs are $30 to $40. Being that I'm a clever tool-using monkey descendant, I decided I could make my own for way less.
So, here is my process in case you're cheap like me.. A drill press is really nice to have for this but not required...
Background
A 4 Bight mandrel/jig is not very hard to get right even with little measuring... because it's fairly easy to find the exact opposite sides and eyeball "halfway" and just wing the locations for the guide holes.
However, 6 Bight where you need 6 roughly equal holes spread across the circumference of a dowel.. it gets really ugly really fast. My first attempts at this were eyeballed and while my 4 Bight was usable, the 6 was horrid and thus I came up with this trick for how to get the spacing
Templating the Hole Locations
- Start with your actual dowel ... I chose a 1 1/4" wooden closet pole of pine as it was cheap. I cut it to 9" in lenght
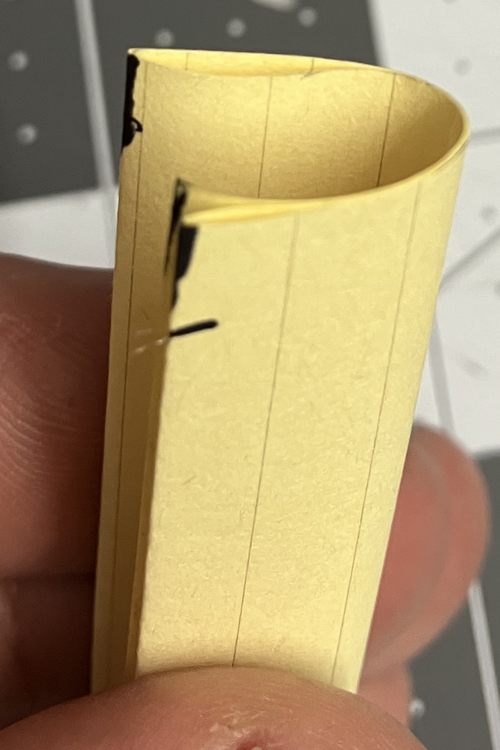
- Find a piece of paper long enough to wrap around it
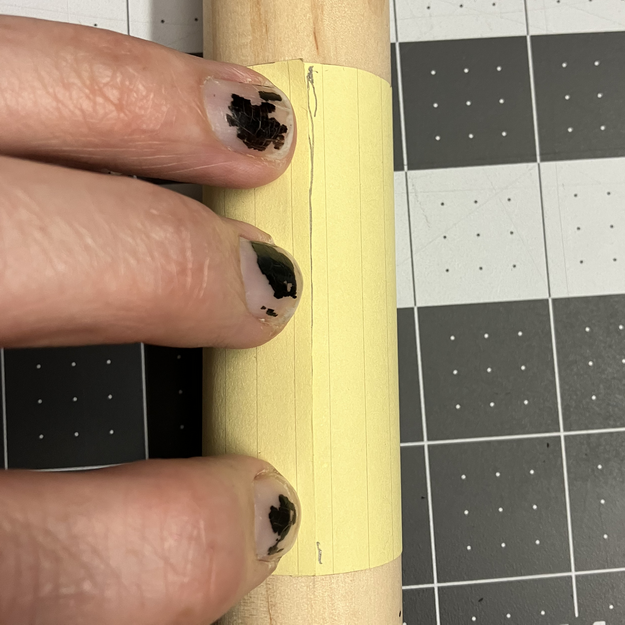
- I just happened to have a "sticky note pad" that was a bit bigger than the normal size and its pages are NEARLY perfect - just a bit too long
- The paper does not need to be super "tall" so if you want to trim the excess, just make sure it's a couple inches tall to make the process less bulky.
- Wrap the paper around the dowel and mark the line where it crosses
- Remove and cut the paper at that line so you now have a piece of paper about 2" high and (in my case) just under 4" long (your exact length will vary depending on the actual diameter of the dowel)
- Fold that paper in THIRDS as perfectly as you can
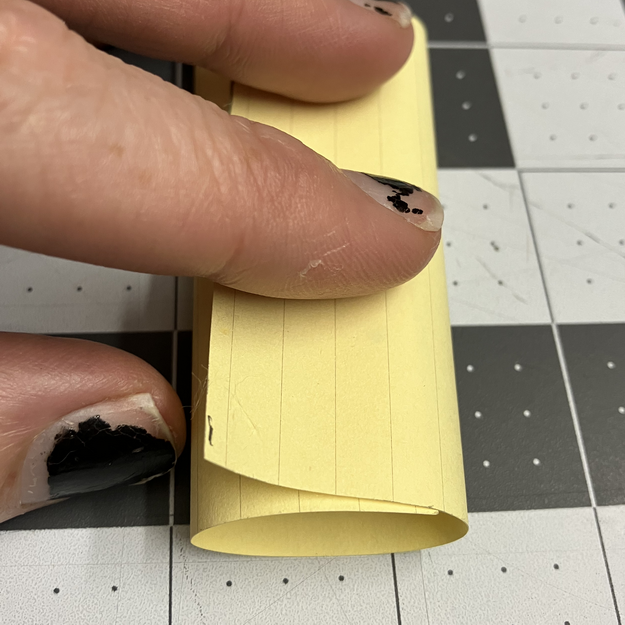
- Mark the edges wherever there is a fold (this will give you 3 equal marks, the start/end being one and the other two fold edges being the others)
- Fold that in half and Mark the fold
- After marking the outer edge open the fold and mark the inner as well...)
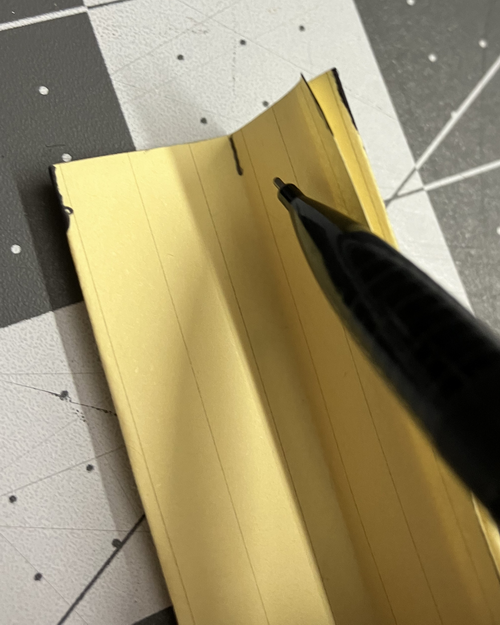
- After marking the outer edge open the fold and mark the inner as well...)
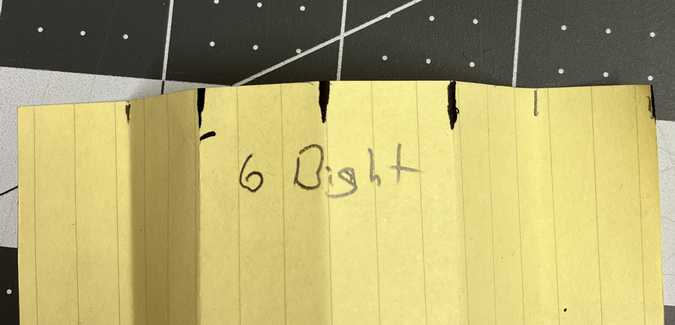
- When you unfold it, your paper will now have 5 equally spaced marks (plust the "live edges" which will come together to make the 6th)
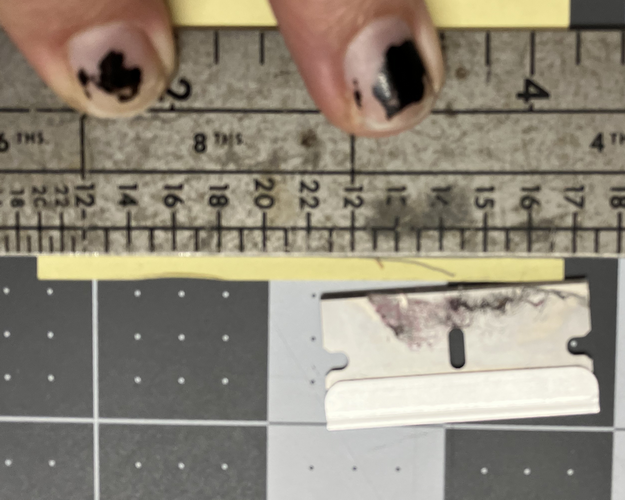
Note: The template is even, it's just that the image was taken with it not laying perfectly flat so the angles make it look weird here - Wrap that paper around the dowel about 1" down from the top
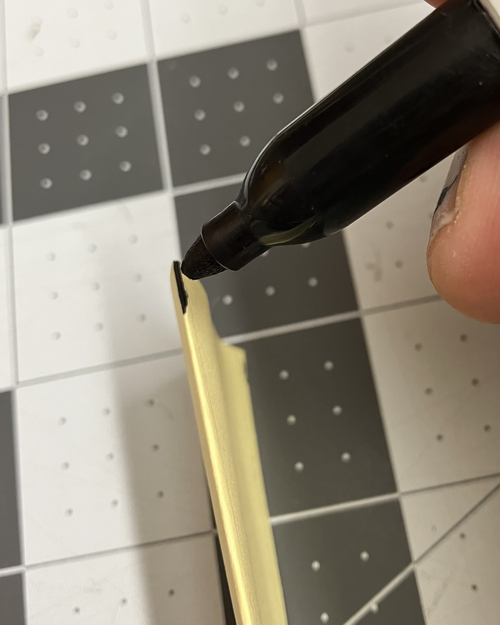
- mark the points on the dowel
- Measure down about 1 1/2" and then either re-wrap the template, but position it so the marks will be offset to the MIDDLE of the upper marks
- Or just use the paper to draw a line around the circumference and then eyeball the marks so they're halfway between the top mark points
- Next, go to the top set of marks and label them 6,5,4,3,2,1 (note I did that backward... that is the correct order)
- Finally, go to the bottom set of marks.. you need to label these but since they're offset you need to start with the 6 in the middle between the top 1 and 6
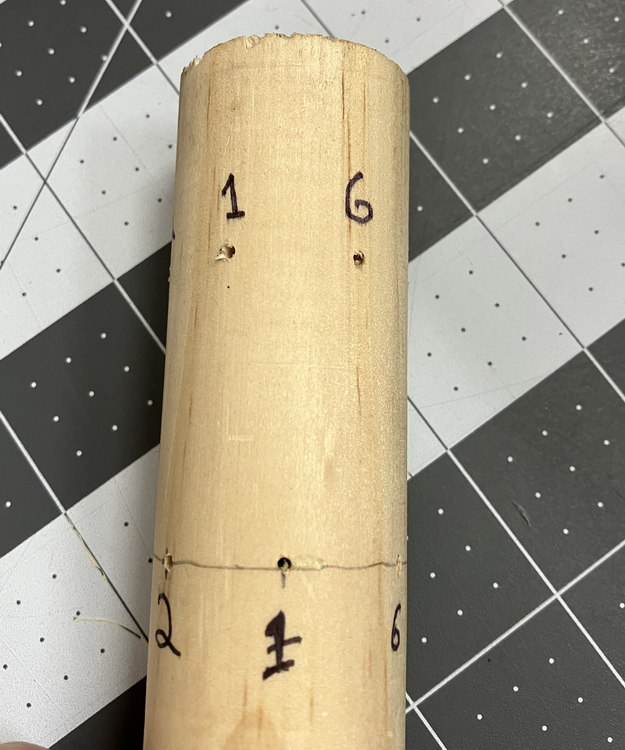
- The pattern will look like this:
6_5_4_3_2_1_
_6_5_4_3_2_1
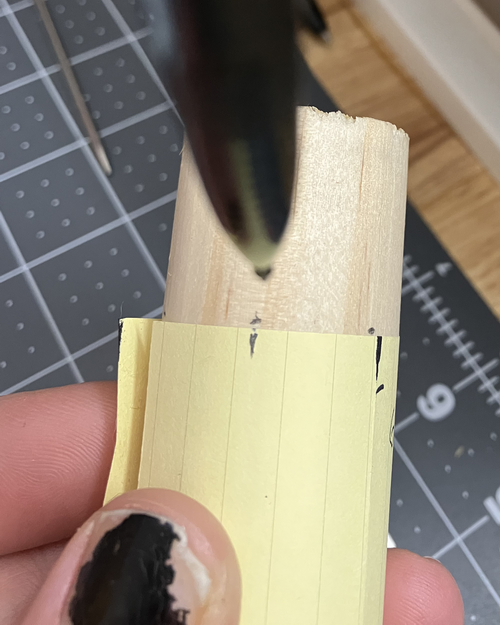
Drilling the holes
- I use a drill press - I carefully set the stop so that I only drill in about half an inch
- You can do this without a drill press but PLEASE be careful
- No matter which means you use, secure the dowel in a vice or clamp and carefully drill 1/2" deep holes at each of the marks
- This will be 12 holes in all
- The diameter of the hole depends on what you have at hand for pins/pegs
- My first go around I happened to have some nails that worked well with 7/64" drill bit
- Choose a drill bit size that will let your "pins" fit into the holes with a tiny bit of friction so they don't just fall out on their own
Final Assembly
- Get a rubberband or hair tie and wrap it around the middle of the dowel to use as an "end keeper"
- Actually, you're done.. you need 12 pins that will fit into the holes but you DO NOT WANT them to be permanently set
- This may be obvious to some but I'm saying it to avoid trouble in case it's not:
- The jig works by letting the pins hold the cord in place as you wrap / tie but the pins have to be removed to slide the knot off
- I keep a small box around where I store the mandrel and pins
Additional (Optional)
- I find I often need to also tie a 4 bight Turks Head for transition knots.
- I turn the dowel upside down and do the same template trick but only fold it in half then half again to make 4 evenly spaced marks
- Offset the holes the same and label:
4 3 2 1 4 3 2 1 - The neat thing about this arrangement is I often use a 6x7 Turkshead for the Heel knot and a 4x5 Turks head for the transition - you can tie one, then flip the mandrel and tie the other and have both knots for your whip ready to transfer
- I find that with this mandrel and a lacing needle this setup is very portable so it's great to bring along to have "something productive to do with my hands" while I'm traveling etc... you could transfer finished knots to another blank dowel for safekeeping... stock up?
Tying the knots
6x7 (Six Bight) Turkshead
- I got this from Caliber Whips YouTube
- NOTE that this tutorial is for a "herringbone knot" which is a bit more advanced - Once you have the pattern for the first pass, the Turks head is just done by following the previous thread exactly going under where it goes under and over where it goes over.
- My number pattern is going to be t for top and b for bottom and then I will use the 1-6
- I will start saying over and under but switch to o and u respectively
First Pass
- start with the thread anchored at the middle and coming up in between b1 and b2
- go up to t4 (no over/under)
- down to b2 ( no over/under)
- up to t5
- This next step will begin the "weaving"...
- On your way to 4: We go under, over
- down to b3
- On your way up to 6: u,o
- up to t6
- On your way down to 4: o,u,o
- down to b4
- On your way up to 1: o,u,o
- up to t1
- On your way down to 5: u,o,u,o
- down to b5
- On your way up to 2: u,o,u,o
- up to t2
- On your way down to 6: o,u,o,u,o
- down to b6
- On your way up to 3: o,u,o,u,o
- up to t3
- On your way down to 1: u,o,u,o,u,o
- down to b1
- This concludes the first pass
Second Pass
- For the TurksHead, you follow the first thread, keeping it always just to your left. Where it goes under, you go under; where it goes over, you go over...
~TSW